Monday, June 16, 2014

Hempy Bucket How To...

Here is a post on how to make the hempy buckets (passive hydro buckets) I use to grow most of my plants in. They are very simple to make and use and have improved my growing noticeably.

First find a suitable bucket. A five gallon bucket will work for larger plants and they are cheap and easy to find. Here is a ~4 gallon bucket being converted into a hempy bucket.
After drilling holes in a triangle pattern about 2-3 inches above the bottom of bucket, I painted the buckets black. I do a triangle pattern so the nutrients drain slower near the bottom of the bucket. The buckets are painted black to avoid the roots and grow medium becoming covered with algae growth. 

Next I fill the buckets 3/4 full with perlite. This perlite should be flushed with water to remove perlite fines that can settle at the bottom of your hempy bucket. Now your bucket is ready for a transplant. Let the roots of the plants dip into just the top of the reservoir or even slightly above. The plant will grow into it on its own. I give nutes on the first day of transplant and it never seems to do any harm. After this, I cover the exposed roots on top with more perlite, or vermiculite. I am experimenting with vermiculite on top to see if that lessens evaporation from the buckets. The plants always seem to love bigger buckets too because they always explode with growth when the roots reach the reservoir. Here are a couple plants recently transplanted. 

Banana peppers, just after transplant to large hempy bucket

Black cherry tomatoes. , just after transplant to large hempy bucket (vermiculite on top)

Friday, June 6, 2014

Where the garden is currently...

This post is meant to get readers up to speed on where the garden is currently. These pictures are low quality and I plan on taking pictures with a quality camera from now on.

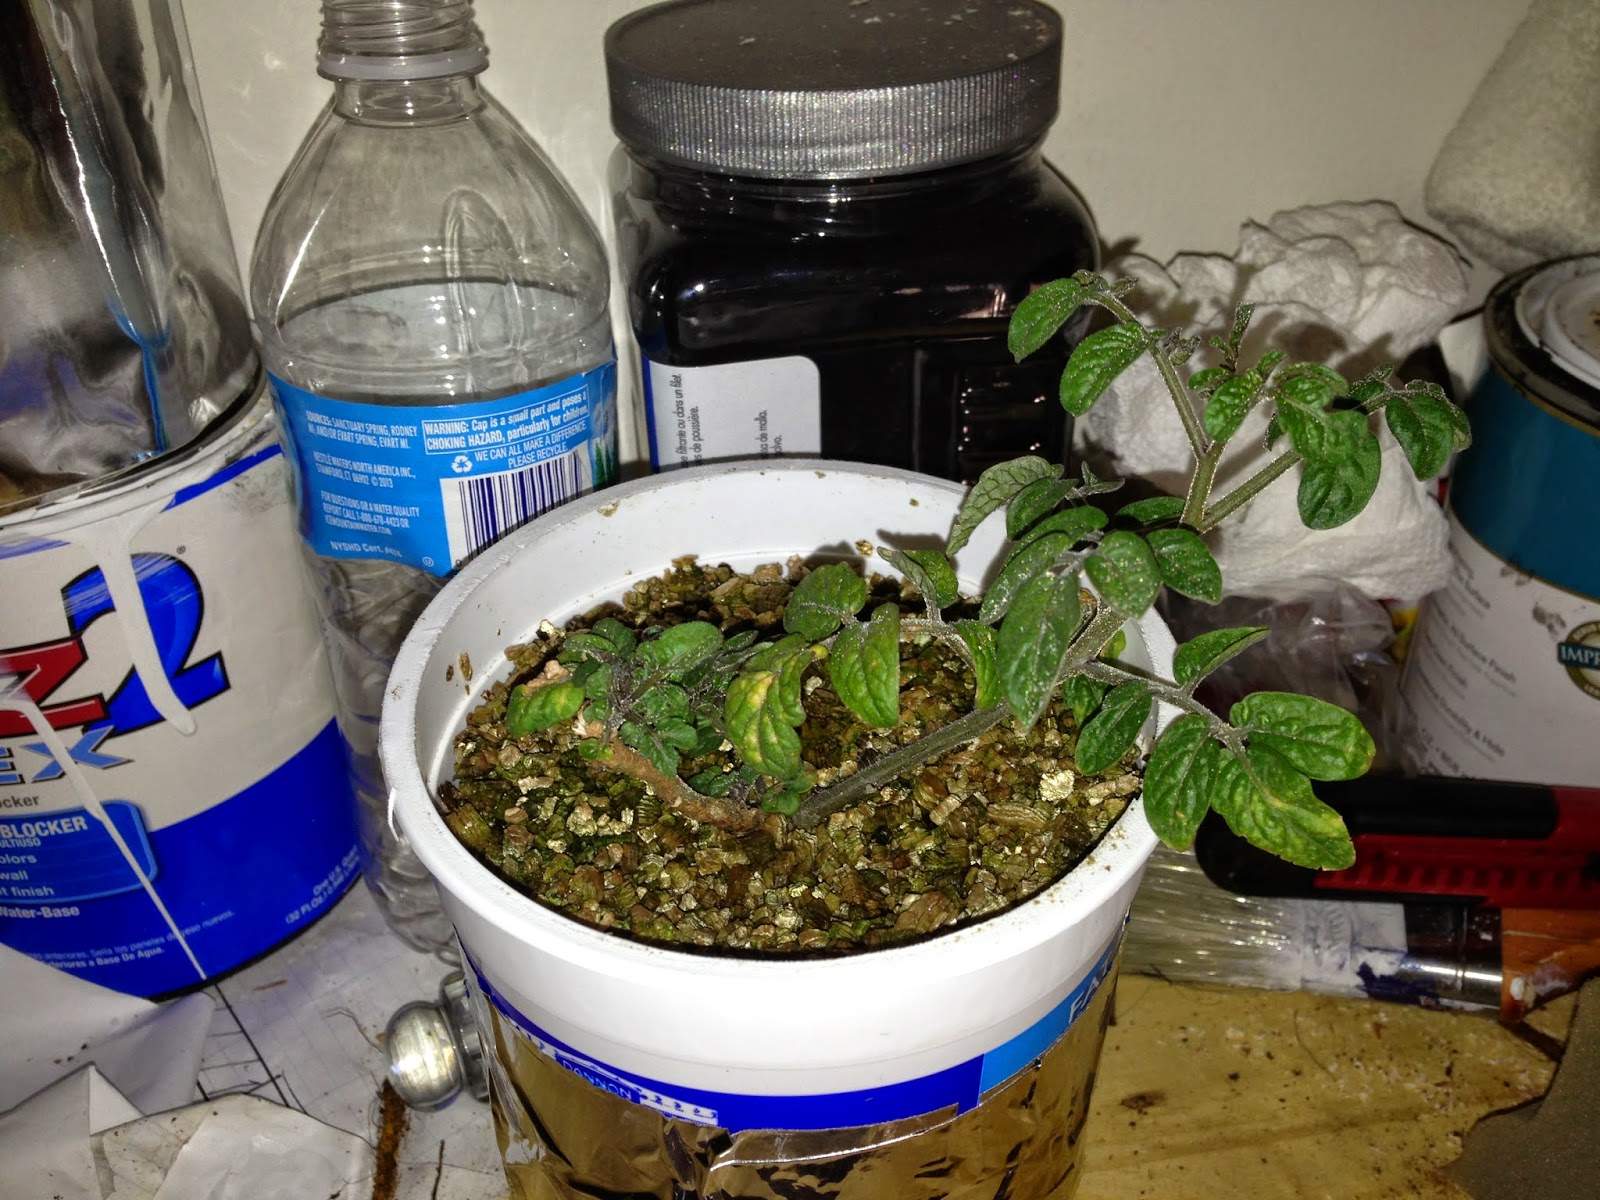
 Above is a Tiny Tom Tomato Plant that I had just transfered from a rootbound soil container to this small hempy container with perlite as the medium.

 I had started another also transplanted another Tiny Tim Tomato Plant in 100% perlite. Relative to eachother the perlite hempy pot tomato plant grew much faster and produced fruit quicker.

 Tiny Tim Tomato Plant under LED light. Estimated 100Watts. This was during the winter and cold spring. It was transplanted to a larger container with light blocking foil tape on the side to prevent root rot.

 Above are the begginings of romaine lettuce (top left), banana peppers (top right), alpine strawberries, black cherry tomatoes and oregano. The green onion I was trying to root died.

 Black cherry tomato plant.

 Romaine lettuce (top left), banana peppers (bottom left), alpine strawberries, black cherry tomatoes (middle black cups) and oregano (back right).

  Romaine lettuce (top left), banana peppers (bottom left), alpine strawberries, black cherry tomatoes (middle black cups) and oregano (back right).

  Romaine lettuce (top left), banana peppers (bottom left), alpine strawberries, black cherry tomatoes (middle black cups) and oregano (back right).

  Romaine lettuce (top left), banana peppers (bottom left), alpine strawberries, black cherry tomatoes (middle black cups) and oregano (back right). Those were skewers which I thought was brilliant until they started to provide a home for mold.

  Romaine lettuce (top left), banana peppers (bottom left), alpine strawberries, black cherry tomatoes (middle black, back right foil container) and oregano (back right).

 Black cherry tomatoes.


 Oregano and a re-go of the Tiny Tim Tomatoes.

 Black cherry tomato plant in its new outside home.

 Other black cherry tomato plant that was much lankier. 


 Black cherry tomato roots during transplant.

  Black cherry tomato roots during transplant.

  Black cherry tomato roots during transplant.

 First banana pepper.

 Banana pepper plant

  Banana pepper plant

  Banana pepper plant

  Banana pepper plant

 Romaine lettuce


 Alpine strawberries.

  Alpine strawberries.

 Re-vegging the romaine lettuce.

 Banana pepper plant outside.

 Banana pepper.

 This dragonfly flew in my mini greenhouse and was trapped. I placed my hand near it and it landed on my hand allowing me to help him out. And he was nice enough to let me take a picture.


Welcome to Field of Buckets

Hi. Welcome to Field of Buckets Garden Blog. I intend to post photos of my garden throughout the year. I garden indoors and outdoors, and all seasons. I have been gardening for probably 2 1/2 years now. Still have a lot to learn, and I am sure I will be making plenty of mistakes. Lately I have been growing most of my plants in passive hydroponic buckets (hempy buckets). So far the buckets have been everything from old milk containers, coffee containers, laundry soap containers, and some actual buckets too. I used 100% perlite in my passive hydro buckets and have had much better success than I did in the past with soil. I also grow some of my plants in coco coir contained in fabric pots. I plan to setup an active hydroponic system eventually, but that is down the road. Passive hydro is cheap and easy.